I remember absolutely hating the idea of false lashes just a few years back. I found the idea of gluing something directly onto my lashline extremely intimidating. I was also very worried about what happens if they decide to fall off randomly and I would be left with no visible lashes. However, I simply tried it one day at home and since then I just can’t go without it. Okay, I don’t wear them on a daily basis, but whenever I want to put a bit more effort into my makeup, false lashes can’t be missing. And trust me, it’s not as hard as it seems. So today, I thought I’d share with you my foolproof guide to false lashes.

The right tools
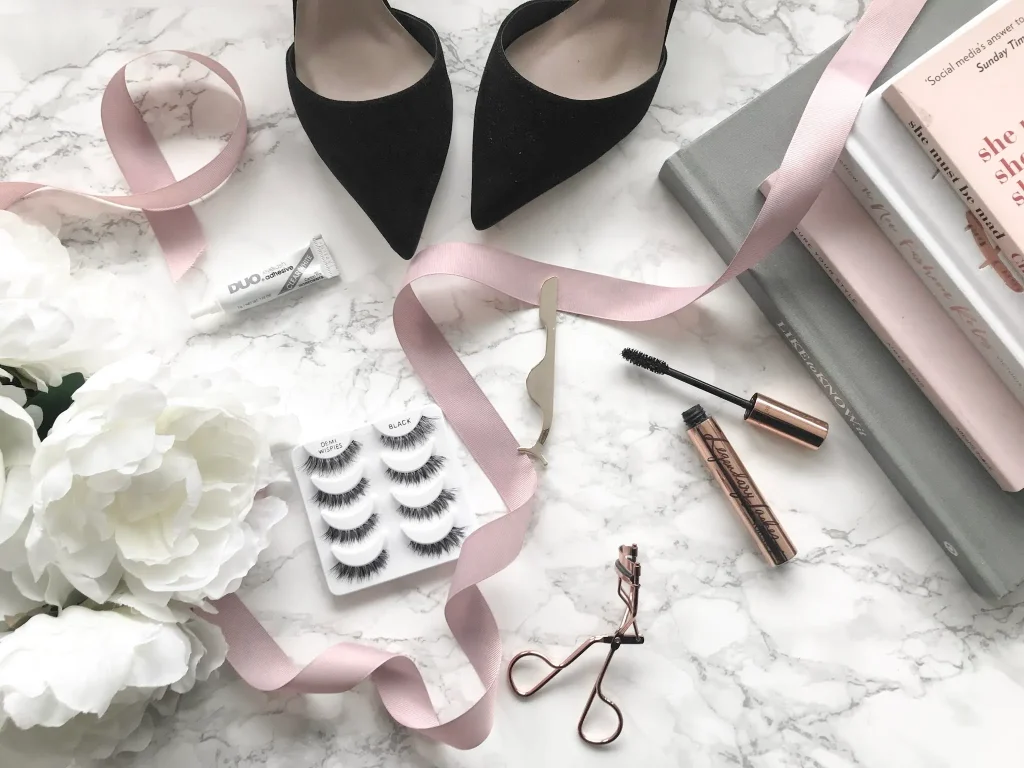
To me, a good lash application totally depends on the right tools. I have personally trusted Ardell lashes, especially the Wispies and Demi Wispies for years now. Not only do they look extremely natural. But they also are so easy to work with as the band is very thin and flexible. For glue, I always go for the original Duo glue which dries clear. Individual lashes might look even more natural, but I find them quite hard to use and they just take so much longer. But of course, that’s up to you. For the application, you can use dedicated lash applicators, tweezers or simply your fingers. I sometimes use my fingers and sometimes my lash applicator.
Trim it
Not everyone’s eye shape and size are the same. That’s why you might need to trim the lashes before you can use them. Simply hold the lash against your upper lashline and if you need, just cut the band on the outer corner of the lash. Never ever cut the inner corner, as this will make it look very unnatural and out of place.
Glue it
Now you need to apply the glue. Simply swipe the glue applicator along the lash band and focus most of the glue on the corners. Then let the glue dry for about thirty seconds to a minute, until it starts to get tacky.
Start with the middle
Firstly, you should start by focussing on the middle of the lash and position it properly. Try to take the falsies as close to your natural lash line as possible. Then push the outer corner in place and lastly the inner corner.
Focus on the inner corner
The part that makes the most problems is always the inner corner of your lashes. So make sure they are properly in place, don’t poke your eye and they are stuck securely.
Press in place
While you let the lashes dry you can press the band against your lash line, again focus on your inner corner. I personally press against the lashes itself and also try and ‘brush’ them upwards with my finger, to make sure they are not tilting down.
Blend
I sometimes put on mascara before the application and then just leave out the blending in the end. However, for the best result, you should use mascara in the end, to blend in your natural with your fake lashes. Avoid using waterproof mascara.
Take them off
Now it’s time to take off your falsies. Simply grab one corner of the lashes (the band, not the actual lashes) with your fingers and slowly peel them off. This won’t hurt, don’t worry. Then remove the glue from the band by holding onto the band with two fingers and use other two fingers, or tweezers, to gently pull off the dried glue. I always store my lashes in their original packaging to make sure they don’t go out of shape. But I am sure there are dedicated storage boxes for lashes.
Congrats, you are done! And don’t forget: practice makes perfect.


