
Rainy weather can make makeup, hair, and outfits feel harder to manage. A simple routine keeps the look fresh without fighting the forecast.
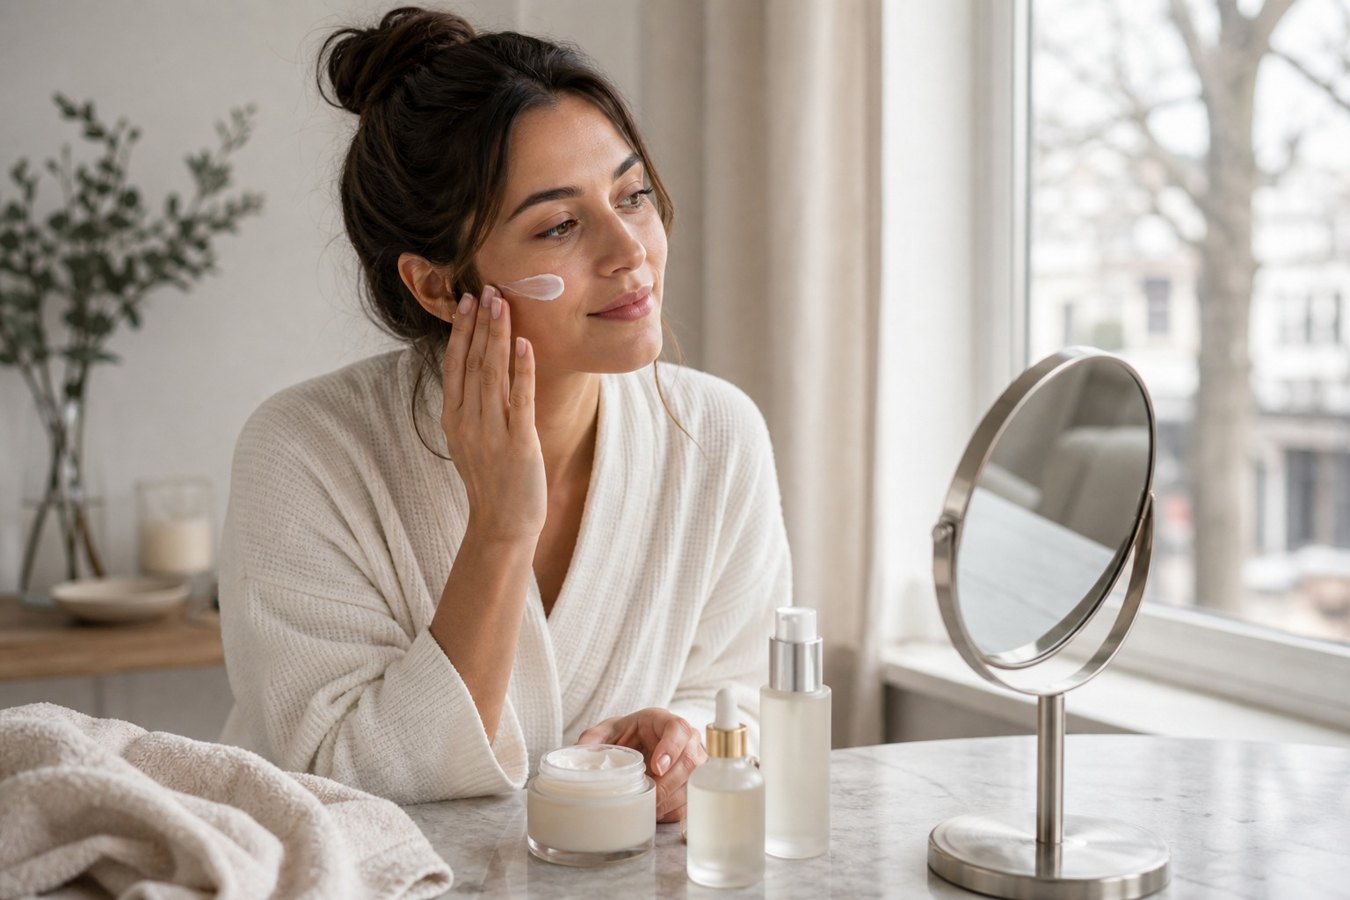
Protect the skin barrier first
Use a comfortable moisturizer and light base that will not cake in damp air. Keep powder minimal so the skin still looks natural.
Choose practical style details
A neat coat, tied-back hair, and a small touch-up kit are more useful than heavy layers of product.
Beauty takeaway
Keep the routine wearable, flattering, and easy to repeat. The best beauty and style advice should make everyday life feel more polished, not more complicated.


.")